A step-by-step, guide to diagnosing and correcting the twelve most frequent mistakes in compact home hydroponic setups—optimizing spacing, lighting, nutrient delivery, and airflow so every leafy green thrives.
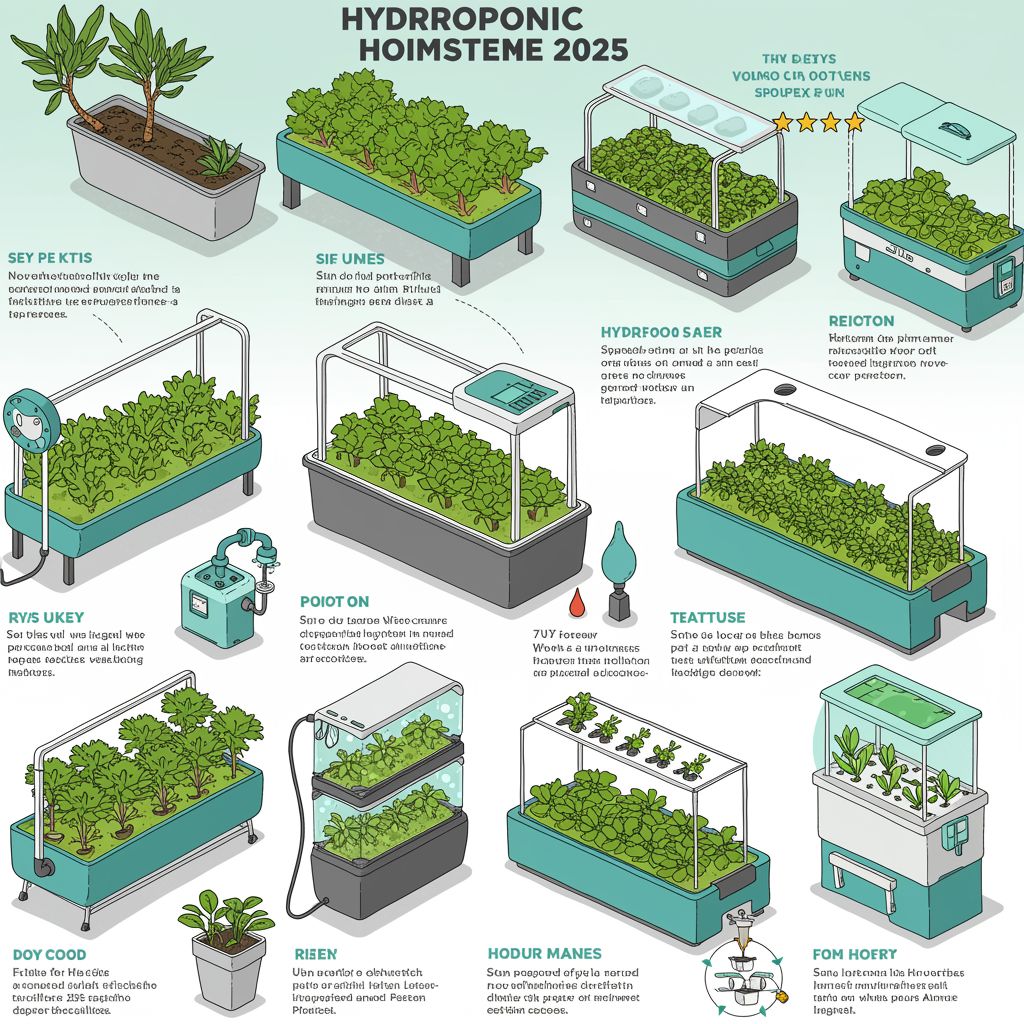
As urban gardeners embrace hydroponics for year-round, pesticide-free produce, many DIY “home‐steMEs” fall short—yielding spindly sprouts, nutrient imbalances, and clogged pumps. The twelve systems sketched above each illustrate a variation on a theme: compact, self-contained trays fitted with lights, pumps, and reservoirs. Yet beneath their futuristic veneer lie recurring pitfalls that can kill crops faster than you can say “nutrient burn.” In this detailed guide, we’ll walk you through each key issue—spacing errors, water‐logging, insufficient lighting, poor airflow, and more—and show you how to correct them in seven comprehensive phases. By the end, you’ll have the know-how to convert any flawed setup into a verdant, high-yielding microfarm.
Phase 1: Optimize Plant Spacing and Support
Mistake: Crowding seedlings leads to competition for light and nutrients, poor air circulation, and disease.
- Seedling to Harvest Spacing:
- Leafy Greens (lettuce, spinach, arugula): 6–8″ apart
- Herbs (basil, oregano, thyme): 4–6″ apart
- Use a paper template under your net pots to mark correct hole spacing before drilling.
- Modular Insert Trays:
- If your unit (e.g., “HydrFoo Saer”) has evenly spaced holes but houses large basil plants, swap to a second insert with fewer holes or larger net pots.
- This preserves root space as plants mature.
- Vertical Support for Vines:
- For cherry tomatoes or cucumbers grown in “Fom Hoely” tower systems, attach removable trellis netting above the tray.
- This prevents stems from sprawling and shading lower leaves.
Phase 2: Balance Water Level, Flood-Drain Timing, and Aeration
Mistake: Continuous flooding or stagnant reservoirs deprive roots of oxygen, leading to root rot.
- Flood-Drain Scheduling:
- Implement an 8-minute flood/52-minute drain cycle during the 16-hour light period.
- Use a programmable timer on your submersible pump (e.g., the “Risen” stacked system) to automate cycles.
- Maintain Proper Water Depth:
- Roots should only touch nutrient solution when inundated; in drain mode, tip of the basket sits ½″ above the water line.
- Adjust float valves or reservoir markers accordingly.
- Add Aeration Stones:
- In passive wick or ebb-and-flow trays (e.g., “Sif Unes”), place an air pump and airstone in the reservoir to keep dissolved oxygen above 6 ppm.
- Check DO with a simple meter weekly.
Phase 3: Upgrade Lighting Placement and Spectrum
Mistake: Lights too high, too low, or lacking the proper spectrum cause leggy growth, leaf burn, or slow maturation.
- Light Height & Intensity:
- Seedlings: 24″ above canopy, 20–25 μmol/m²/s PPFD
- Vegetative Stage: 18″ above canopy, 200–300 μmol/m²/s PPFD
- Flowering (if applicable): 12″ above canopy, 400–600 μmol/m²/s PPFD
- Full‐Spectrum LEDs:
- Replace bare white tubes (common in “Teattuse” tubs) with true full-spectrum bars (3000–6500 K) to support chlorophyll a/b absorption peaks.
- Adjustable Mounts:
- Install ratchet hangers on all overhead bars so you can lower lights as plants grow—preventing both stretching and scorching.
Phase 4: Fine-Tune Nutrient Solution and pH Control
Mistake: One-size-fits-all nutrient mixes and ignoring pH swings starve plants of key elements.
- Stage-Specific Nutrient Formulas:
- Seedlings: Half-strength vegetative formula high in nitrogen.
- Mature Leafy Greens: Full-strength balanced formula (e.g., 3–1–2 NPK) with micronutrients.
- Daily EC and pH Checks:
- Target EC 1.2–1.8 mS/cm for greens and herbs.
- Maintain pH between 5.8–6.2 using pH Up/Down solutions.
- Buffer Reservoirs:
- Keep a small secondary container of pre-mixed, calibrated solution on hand. When readings drift >0.2 units, pump in the buffer mix to re-stabilize without a full reservoir drain.
Phase 5: Improve Airflow and Humidity Control
Mistake: Stagnant, overly humid air invites molds like powdery mildew and downy mildew.
- Clip-On Oscillating Fans:
- Position a 4″ desk fan to create 0.3–0.5 m/s gentle breeze across the canopy for 24/7 air exchange.
- Ducted Ventilation for Closed Chambers:
- For hooded systems (e.g., “Reicton” with a solid lid), install an intake vent with a small computer fan and carbon filter, plus an exhaust port to keep humidity at 60–70%.
- Monitor RH and Temperature:
- Use a combined hygrometer/thermometer inside the canopy.
- Ideal: 20–24 °C and RH 55–65%. Adjust ventilation or add a small dehumidifier if humidity exceeds 75%.
Phase 6: Sanitize and Prevent Disease Outbreaks
Mistake: Skipping regular cleaning allows biofilm, algae, and pathogens to build up in trays and plumbing.
- Weekly Reservoir Flush:
- Drain the tank, scrub with a 3% hydrogen peroxide solution, and rinse thoroughly before refilling with fresh nutrient mix.
- Monthly Deep Clean:
- Disassemble pumps, tubing, and drip lines. Soak in a 1:10 bleach-water solution for 1 hour, then flush with clean water.
- Use UV Sterilization (Optional):
- Inline UV modules on the feed line kill waterborne pathogens and algae spores before they enter the tray.
Phase 7: Implement Monitoring and Automation
Mistake: Manual checks lead to missed alarms—pumps burn dry, lights fail, and pH drifts unnoticed.
- Smart Controllers:
- Upgrade to an IoT-capable hydroponic controller that logs EC, pH, temperature, and tank level.
- Set SMS/email alerts for out-of-range readings.
- Backup Power for Critical Systems:
- Add a 200 W UPS or small battery bank (12 V, 50 Ah) to run the air pump and float switch in case of power cuts.
- Routine Data Review:
- Generate weekly trend reports. Spot gradual EC rises (evaporation concentration) or pH drift before they stress plants.
Conclusion
By following this seven-phase overhaul—optimizing plant spacing, balancing flood-drain cycles and aeration, upgrading lighting, fine-tuning nutrients and pH, improving airflow, rigorously sanitizing, and embracing smart monitoring—you’ll correct the dozen common mistakes shown across today’s popular home hydroponic rigs. The result: stronger roots, more vibrant foliage, higher yields, and a truly low-maintenance microfarm that transforms any kitchen, balcony, or basement into a year-round source of fresh, pesticide-free greens.